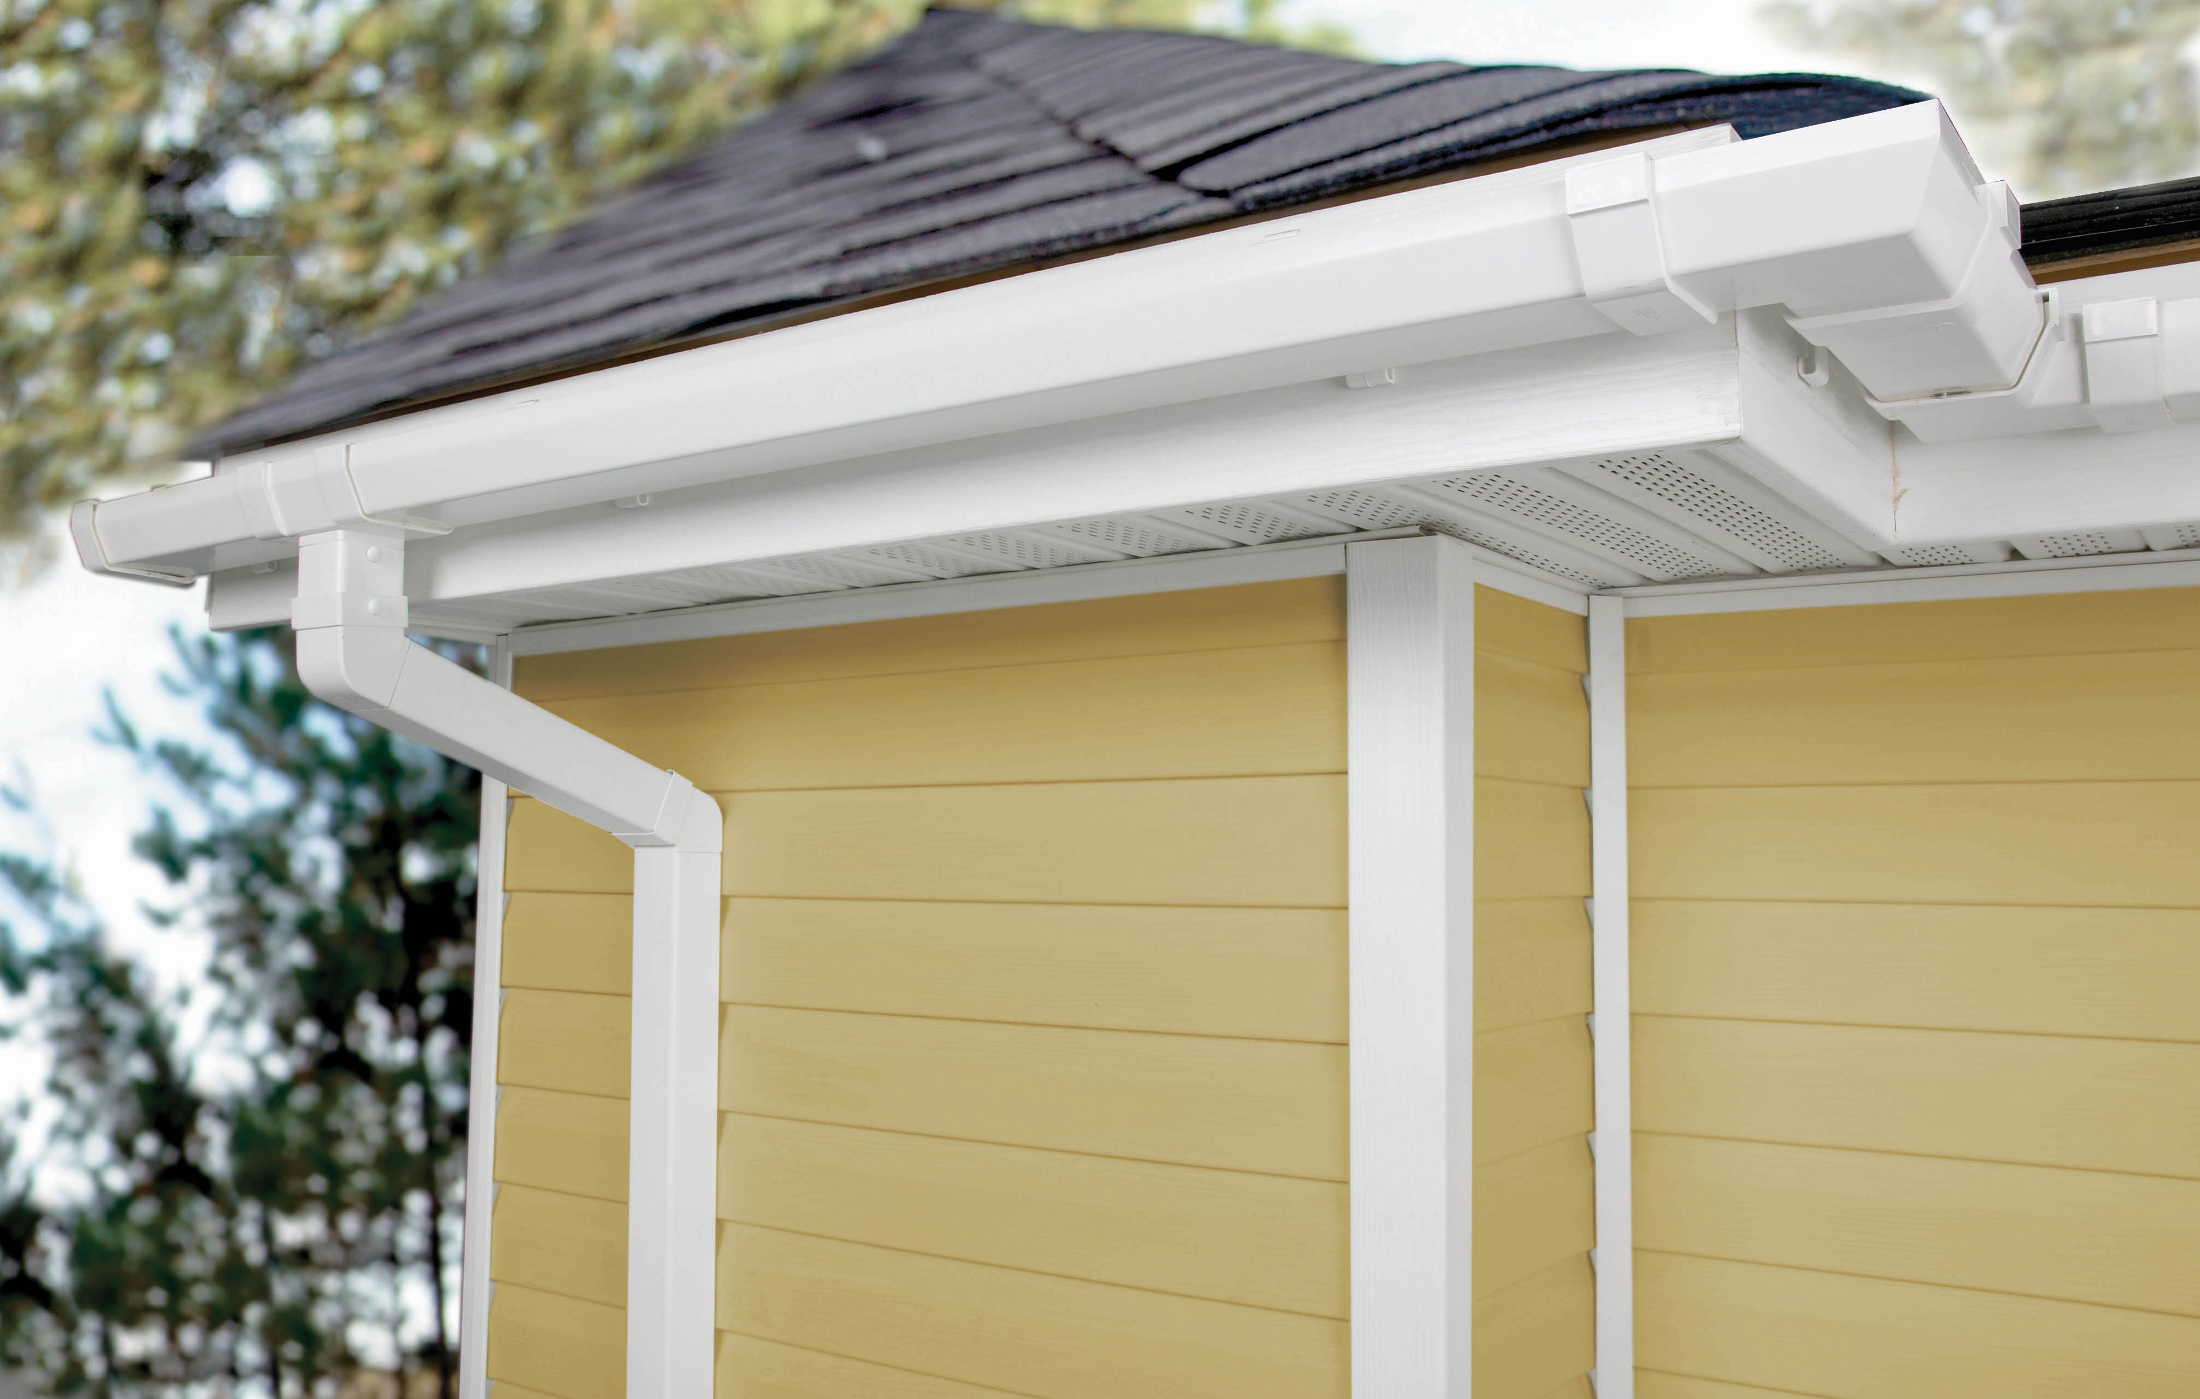
If installed improperly, vinyl gutters can be a sagging, gaping mess across the side of your home. When done correctly, they are a lower cost, lower maintenance alternative to metal gutters, and will last you many happy years. If you’re not sure whether to use vinyl gutters, it may be of service to you to read this.
To begin, you will need the perimeter measurements of your roof. If you imagine trying to keep the tape measure wedged at one corner while you rush to the other end, you can see already that this job really requires 2 people to be done properly. Two ladders would be even better, but are not essential. If you only have one ladder, the best way to get an accurate measurement is to affix* the tabbed end of the measuring tape to the end of a pole long enough for the person without a ladder to reach up to the corner of the roof. The installation will vary, depending on what kind of roof you have. Only those sides of your roof that slope downward need have gutters. This tutorial assumes a roof with 2 angled sides. *Duct or strapping tape will work nicely for this.
You should be able to pick up most of the materials (and additional pointers) at any home improvement store, and many hardware stores as well. You’re going to need the gutters themselves, including as many corner pieces as your roof requires, mounting hangers (enough to place them at least every 2 feet), and some rust-resistant screws. You will also need connectors. You will need 2 downspouts,4 elbows, and 2 drop outlets, filters to keep leaves out and 2 rain catches of some kind*. You’ll need your impact drill and a saw. The Impact Driver Guide is also there to help you choose the best drill according to your needs. Additionally, you will want chalk, and at least one level. A chalk line is highly recommended as well. *Consider eco-friendly rain barrels for this
Once you have your materials, cut any gutter pieces as necessary to have the right lengths to match the dimensions of your roof*. Now you need to make more measurements, making chalk marks just under the roof, at the distance recommended by the maker of your gutter. To function properly, gutters must be angled slightly downward toward the downspout end, about 1/16th of an inch per foot. So if your gutter maker recommends starting at ½” down from the roof, and your roof is 20′ on one side, the mark at the other end should be 1 ¾” down from the top. Use the chalk line to connect these marks. *Remember to allow extra length for the connection itself and to allow for expanding/contracting vinyl.
Install hangers, corners, and the drop outlets first, aligning the top of each piece with the chalk line. When all accessories are affixed, beginning snapping gutters into place and join them with connectors. Next, install the elbows for the downspout, and the downspout itself. Install the filter. Repeat on the opposite side. Once your rain catch is installed, you are done!


